Six months after buying our house we still had an exposed garden that anyone could stroll into from the street. I really wanted to put a big gate in that still allowed full width access if we ever needed it (very rarely … it was sized for a 1960s car so is a bit of a squeeze)!
Custom width gates looked to be minimum £1500 before fitting. I then came across this excellent blog post which not only was they right layout & style, but had detailed tips.
The first thing to do is measure out the space and design the relative size of the two gates. The CAD below shows things like the wall outline of my back door, a drain pipe and existing wall. The gate frame was tweaked using another wireframe sketch and the “Weldments” tool can fill in the 3D cut pieces (I used “2 x 4 box steel section”! That would be a sturdy gate… but was a good approximation for 2 x 4 CLS timber).

A bit of manual tweaking of the wireframe offsets allows for 10mm gaps between gates and the side posts. It was then super easy to play about with the relative sizes of gate and see which looked right!
OK, onto the build. I was somewhat lucky that my neighbours already had a solid gate post concreted into the ground. Even after getting the green light to bolt stuff to it, I decided it would be easier and more elegant to add an additional post to give me more space to hang the hardware.
Therefore one post would be concrete bolted into the house (no sealant needed when penetrating just the outer layer of a cavity wall). The other post used some 150mm screws to clamp the new post to the old post. I also added an othagonal contrete screw into the low wall (with a packing piece of wood) as belt and braces. The bottom of this post simply sits on the ground.
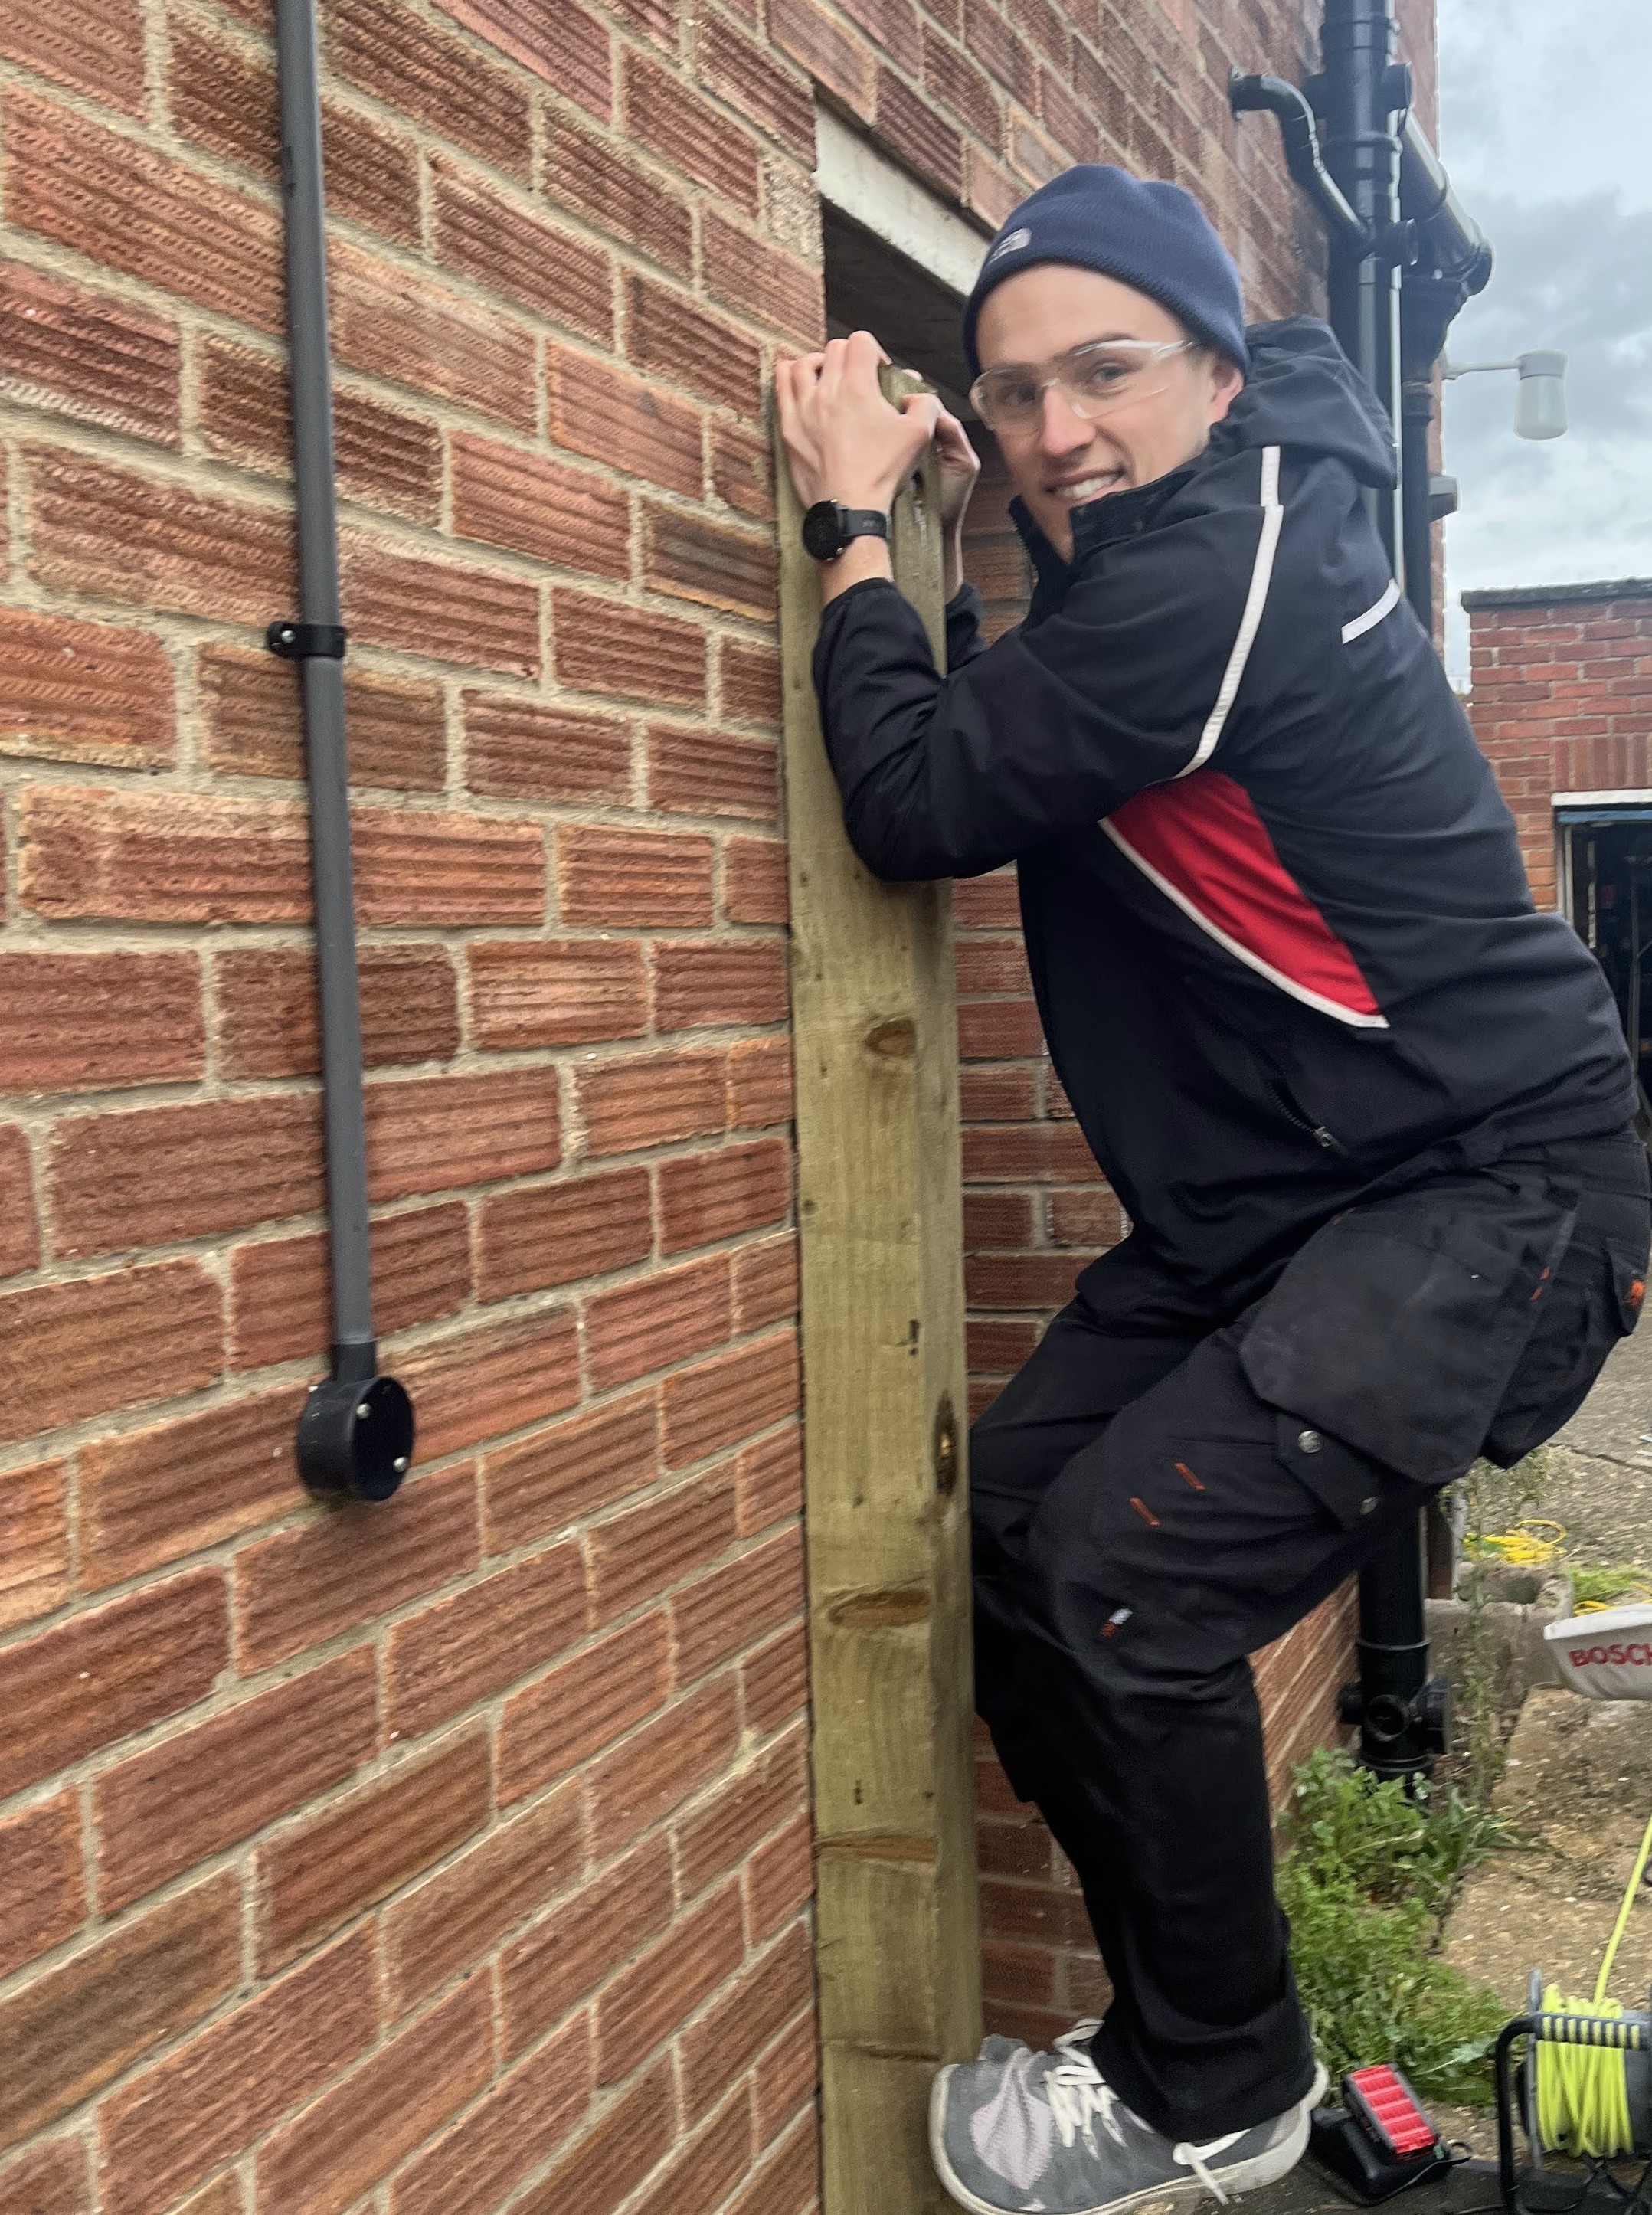
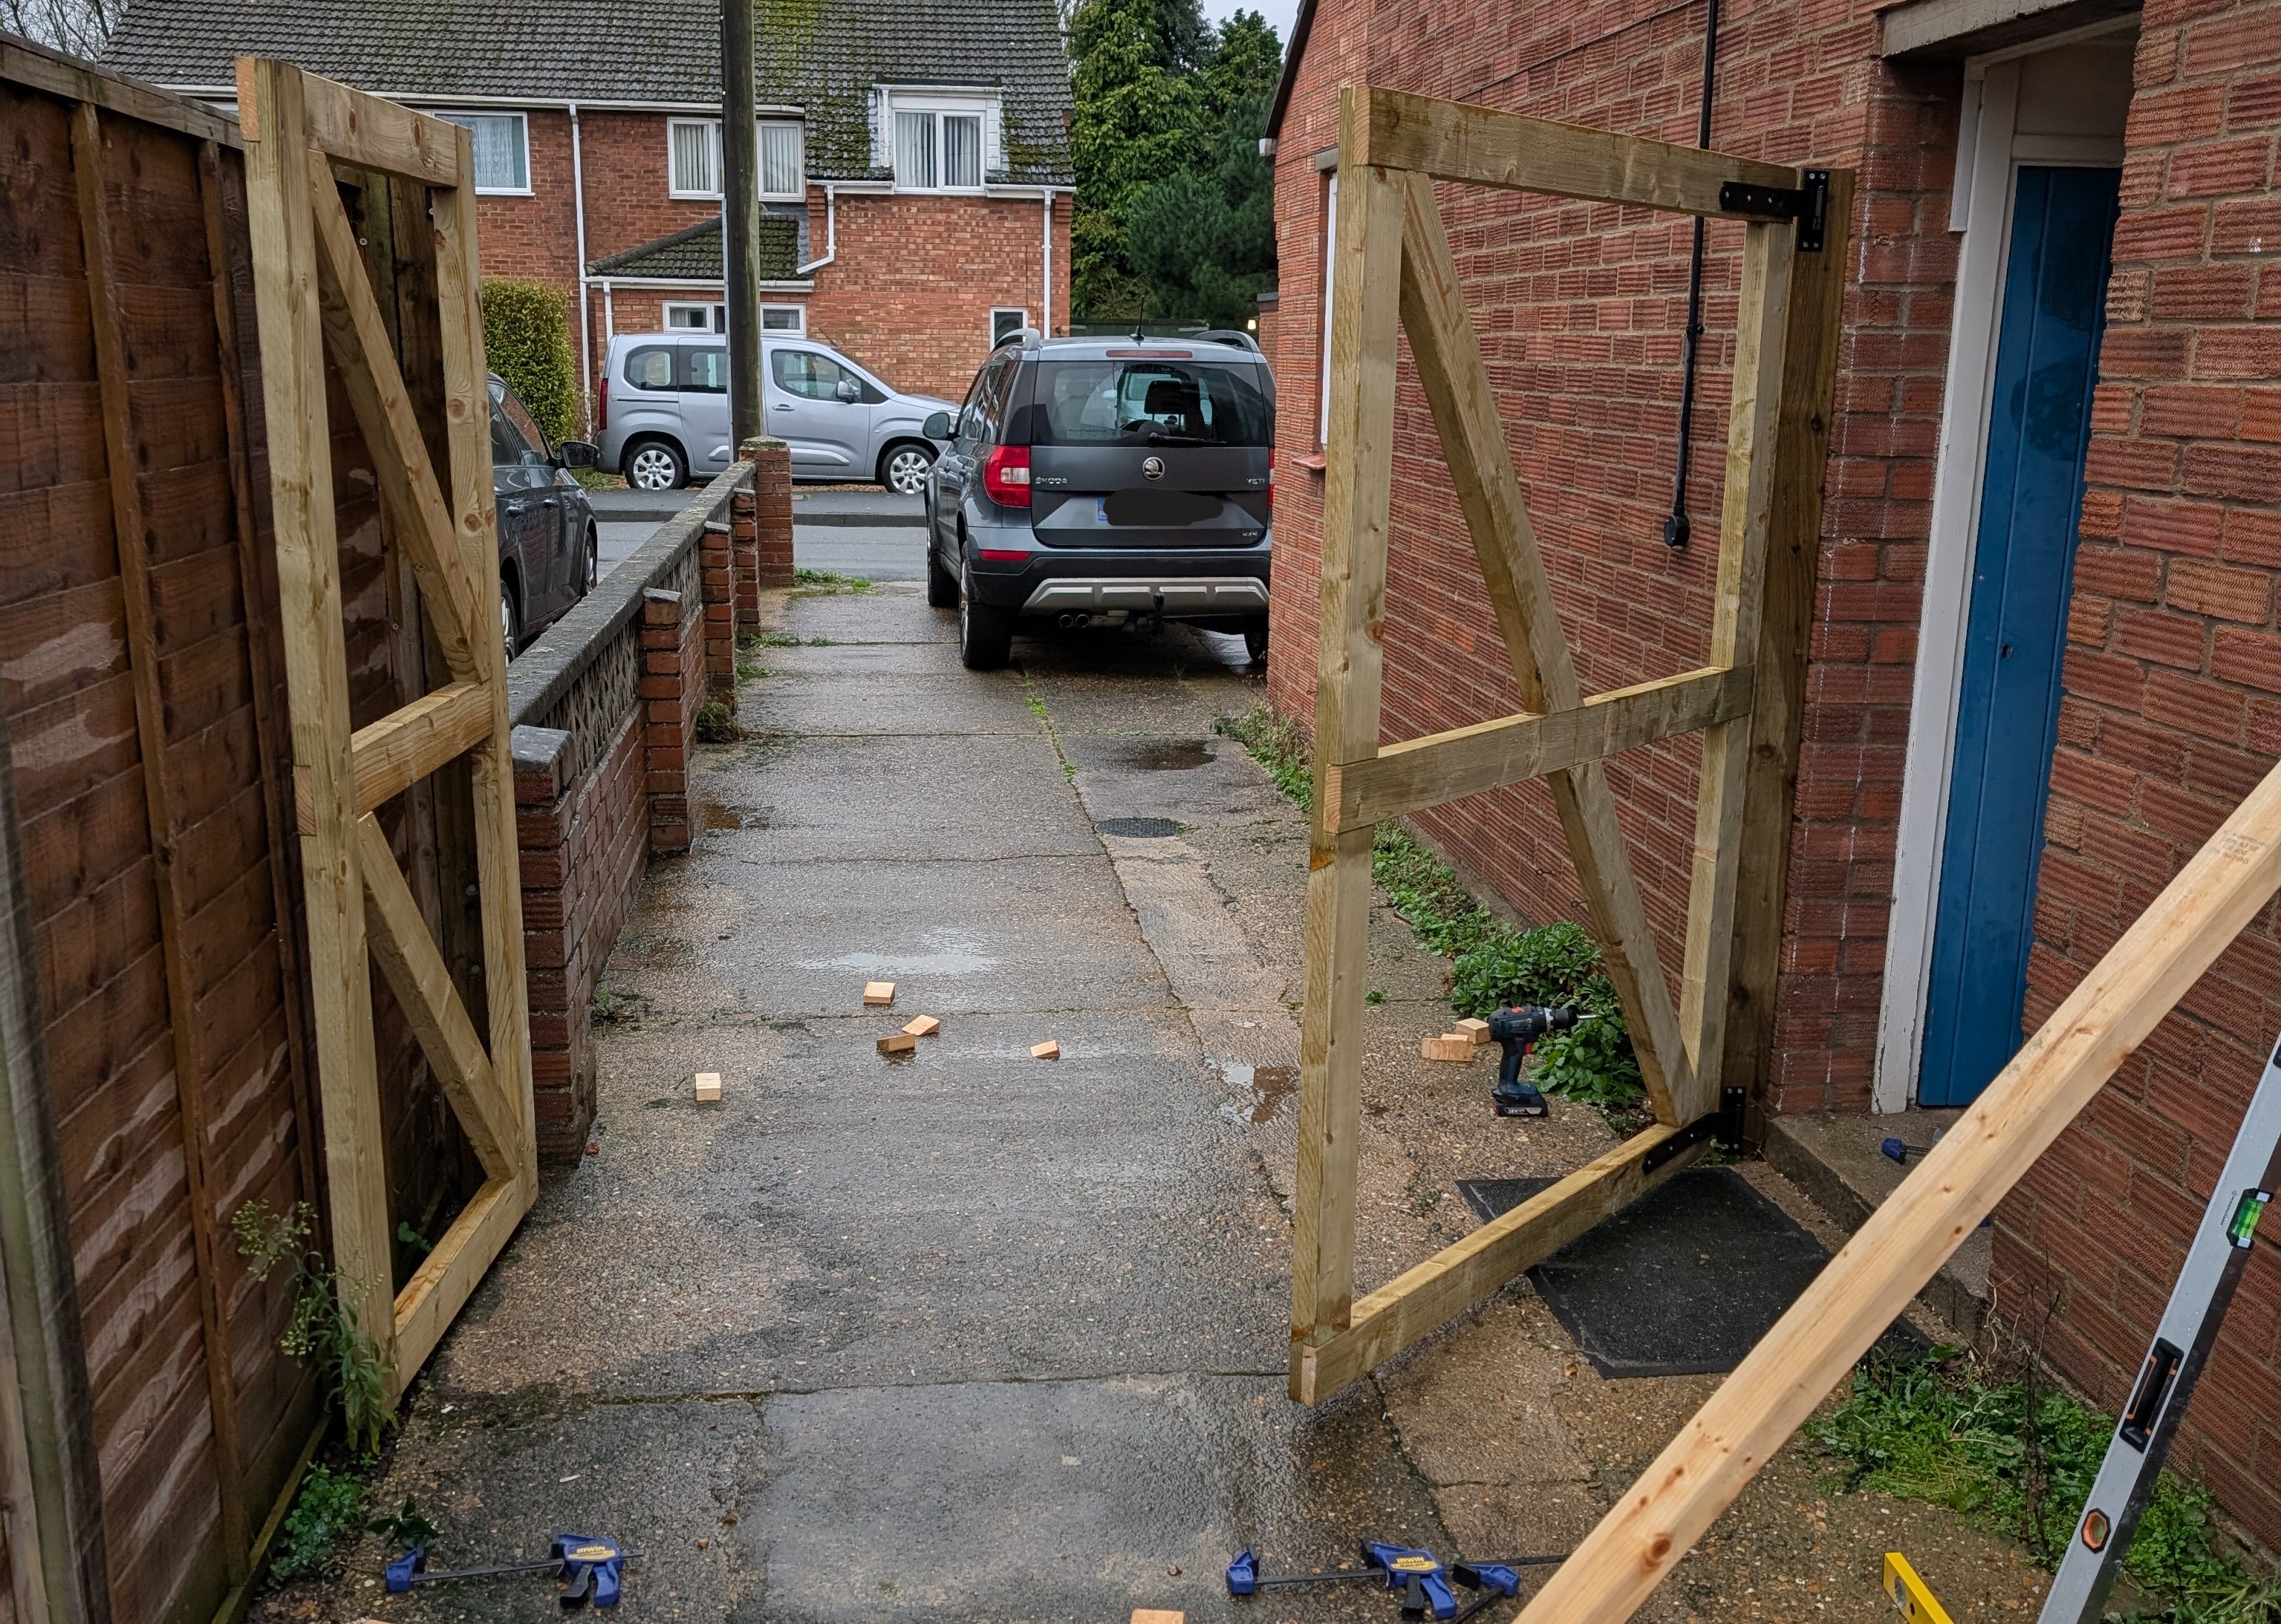
Time for the all important hang test!
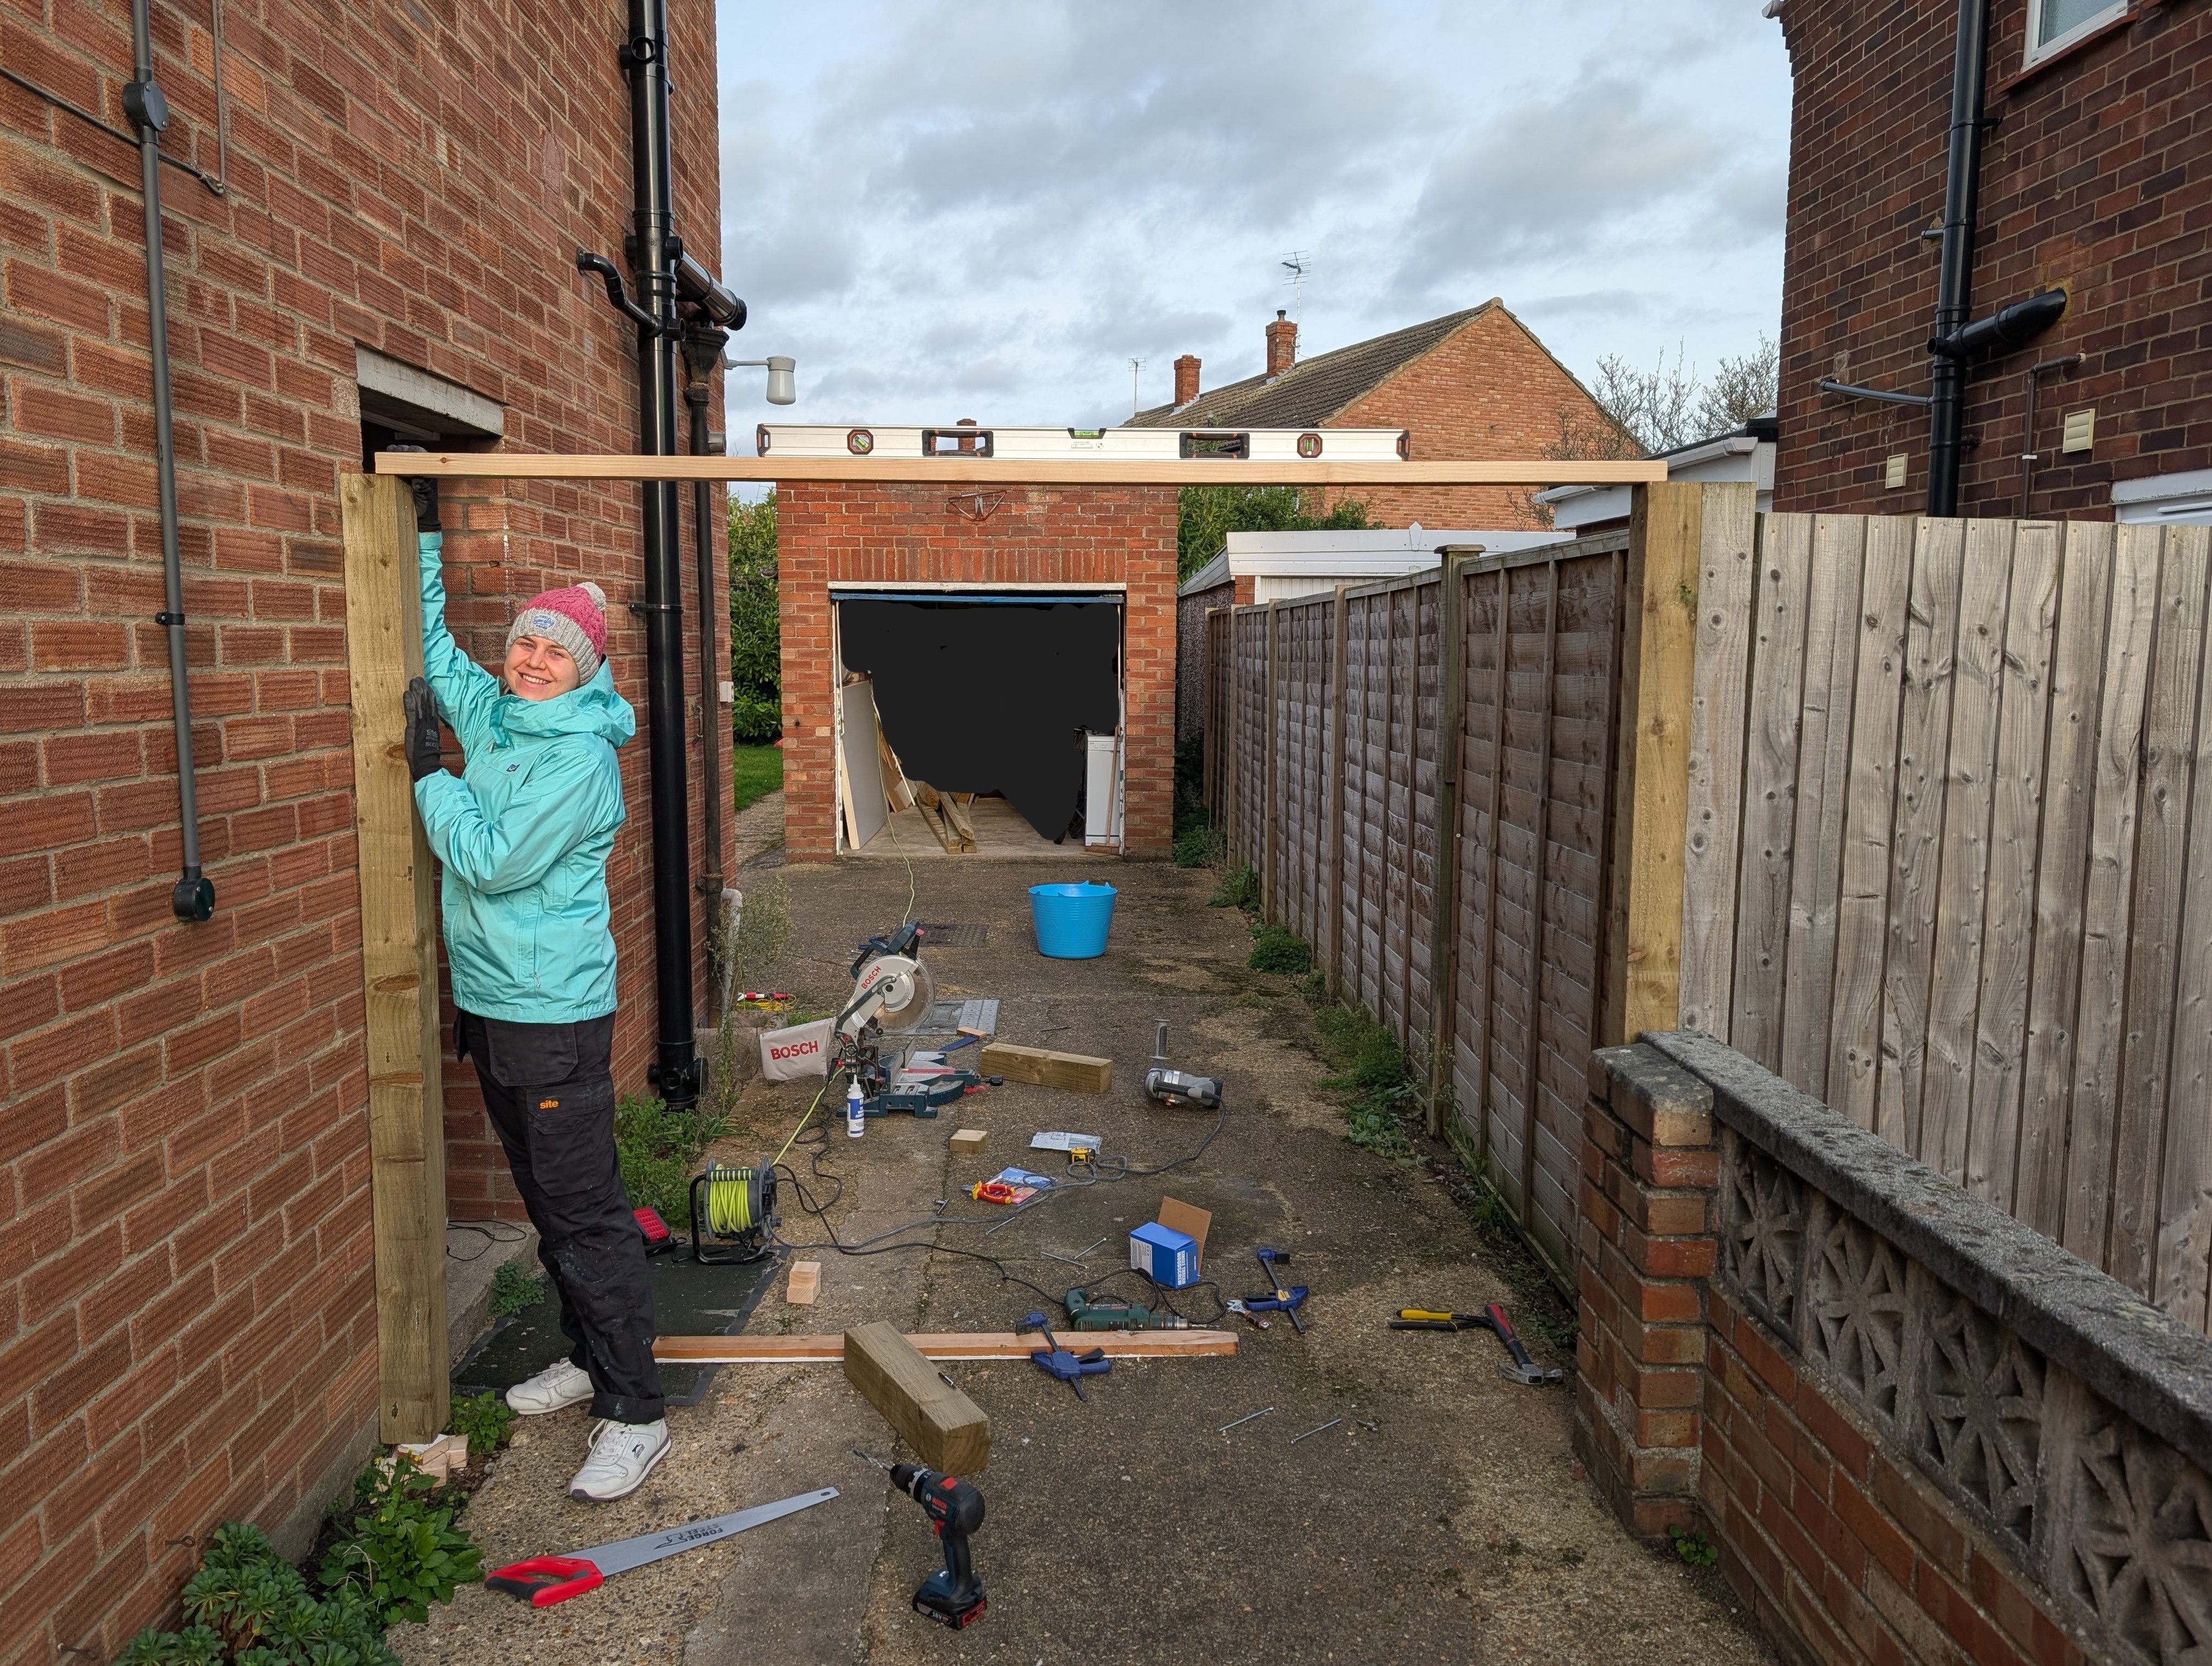
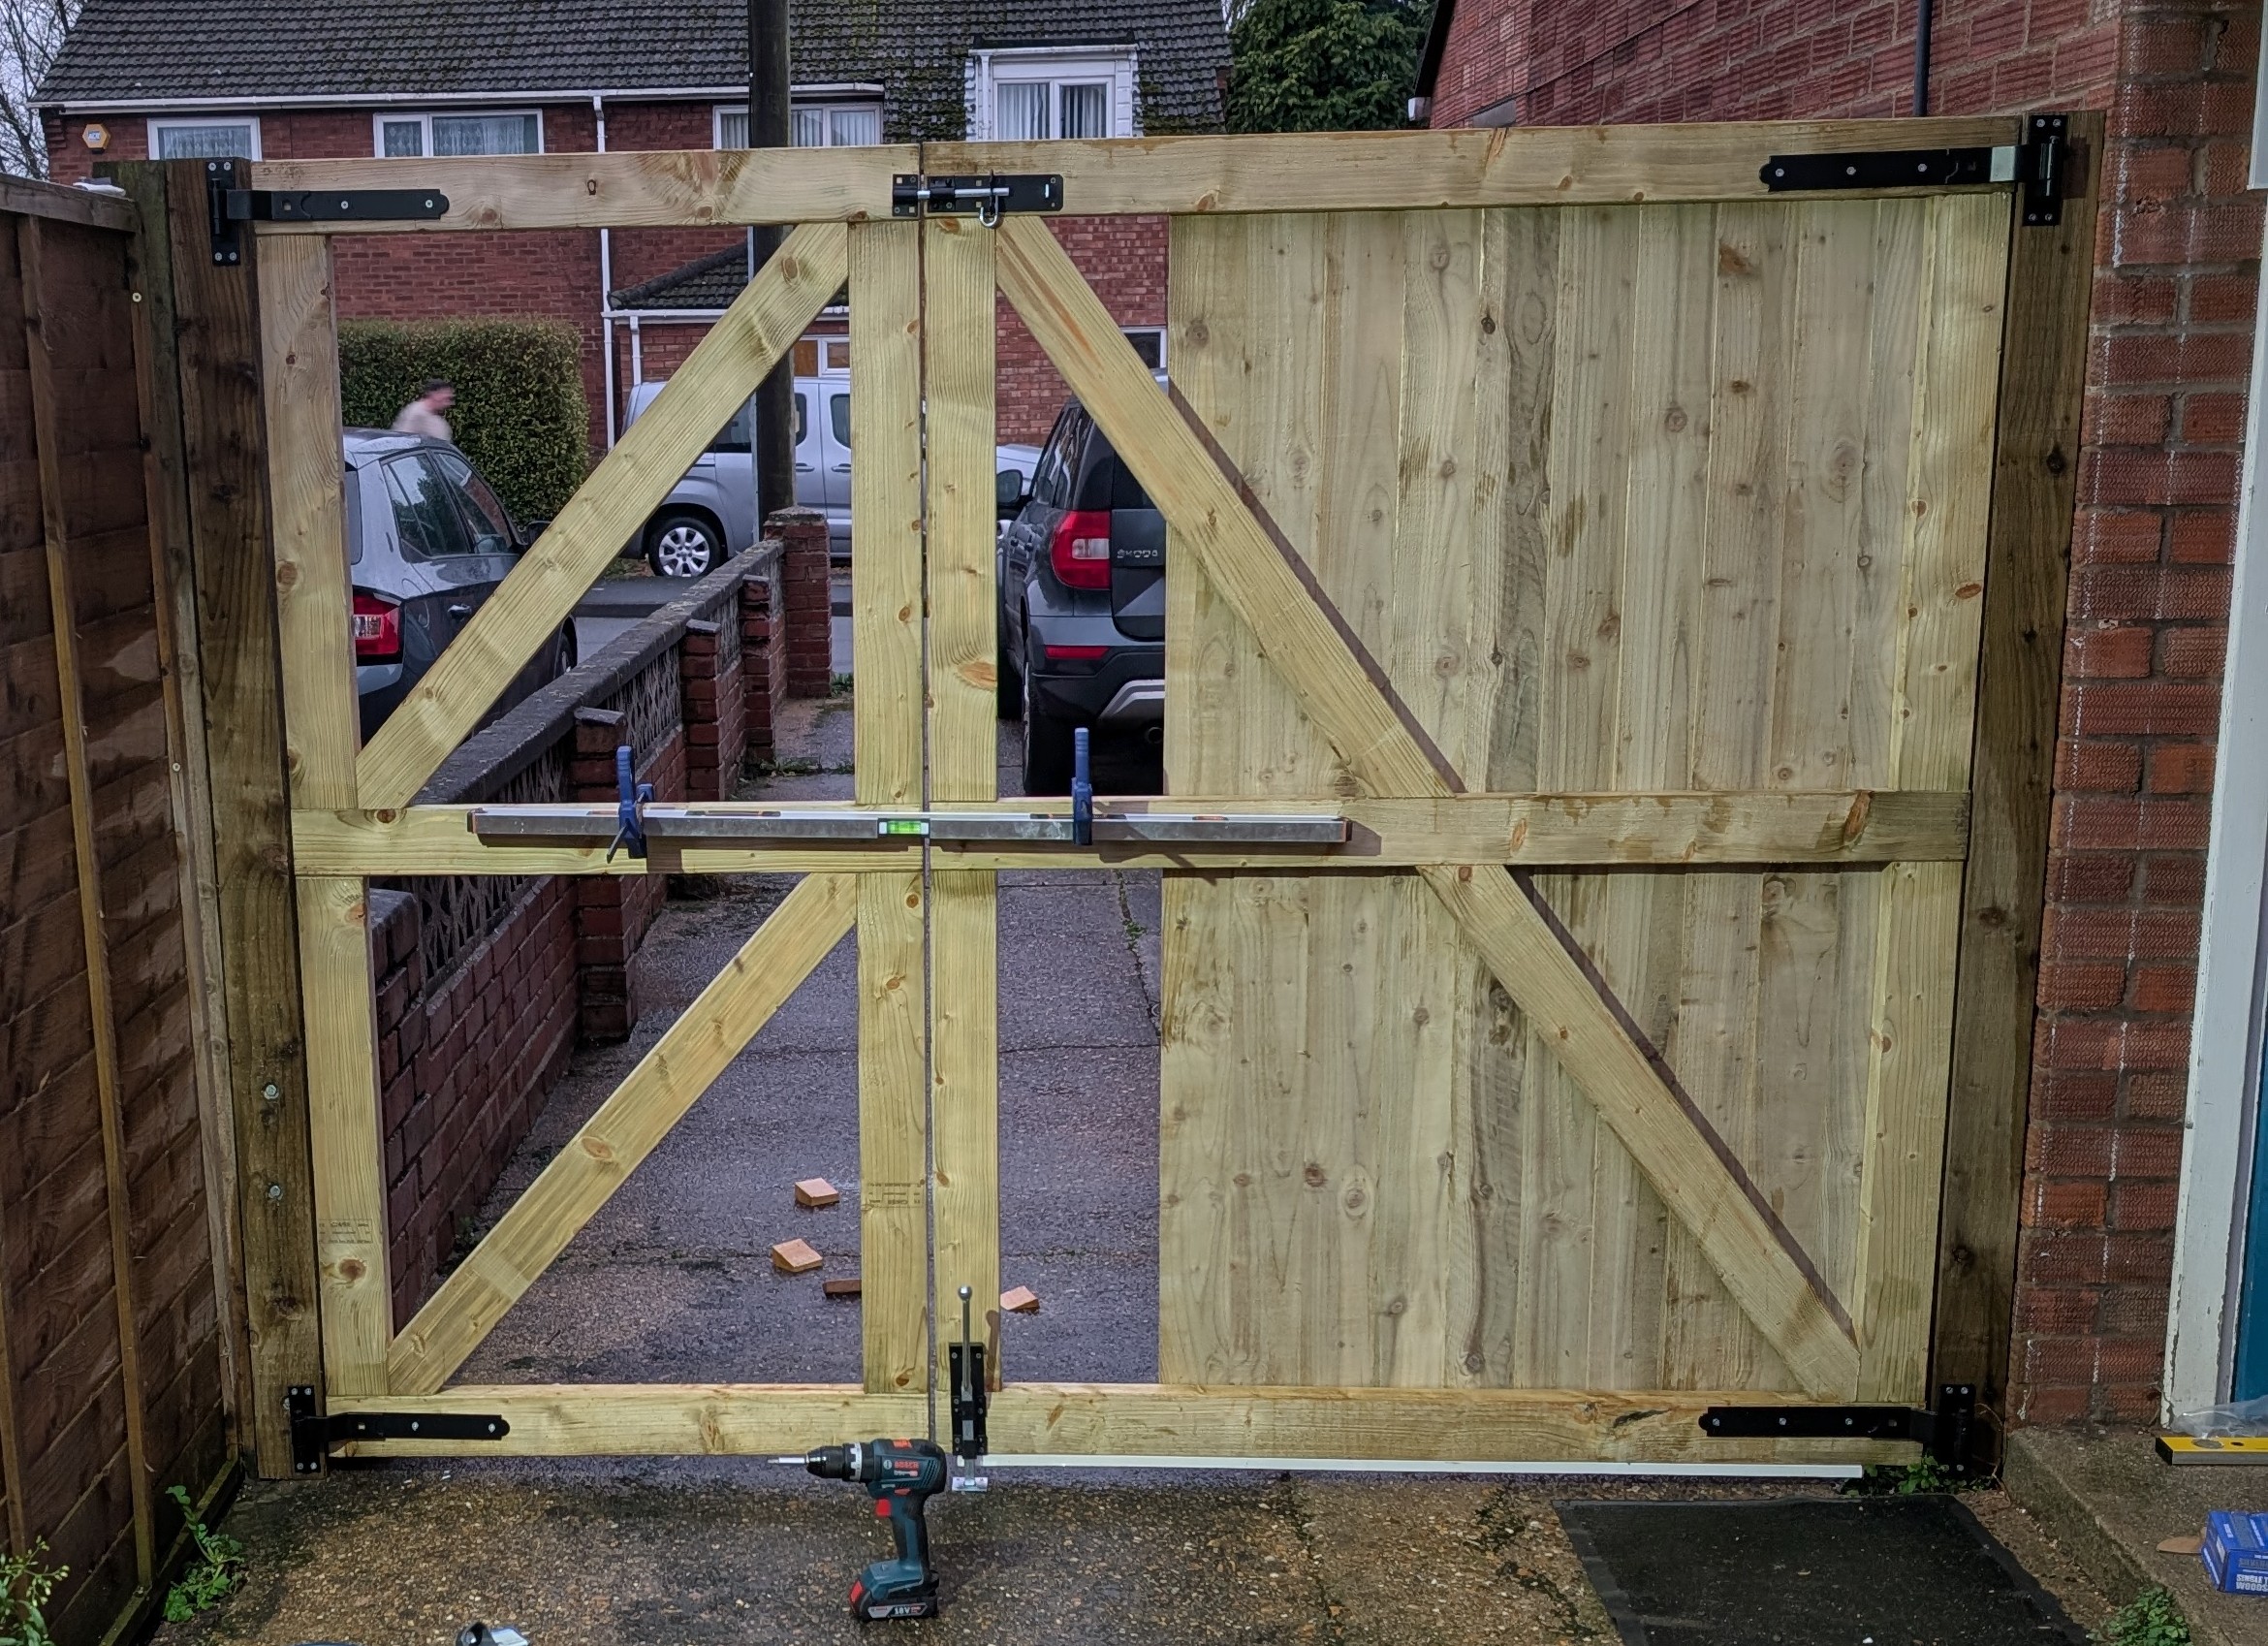
We can also verify the top of the posts were made level:
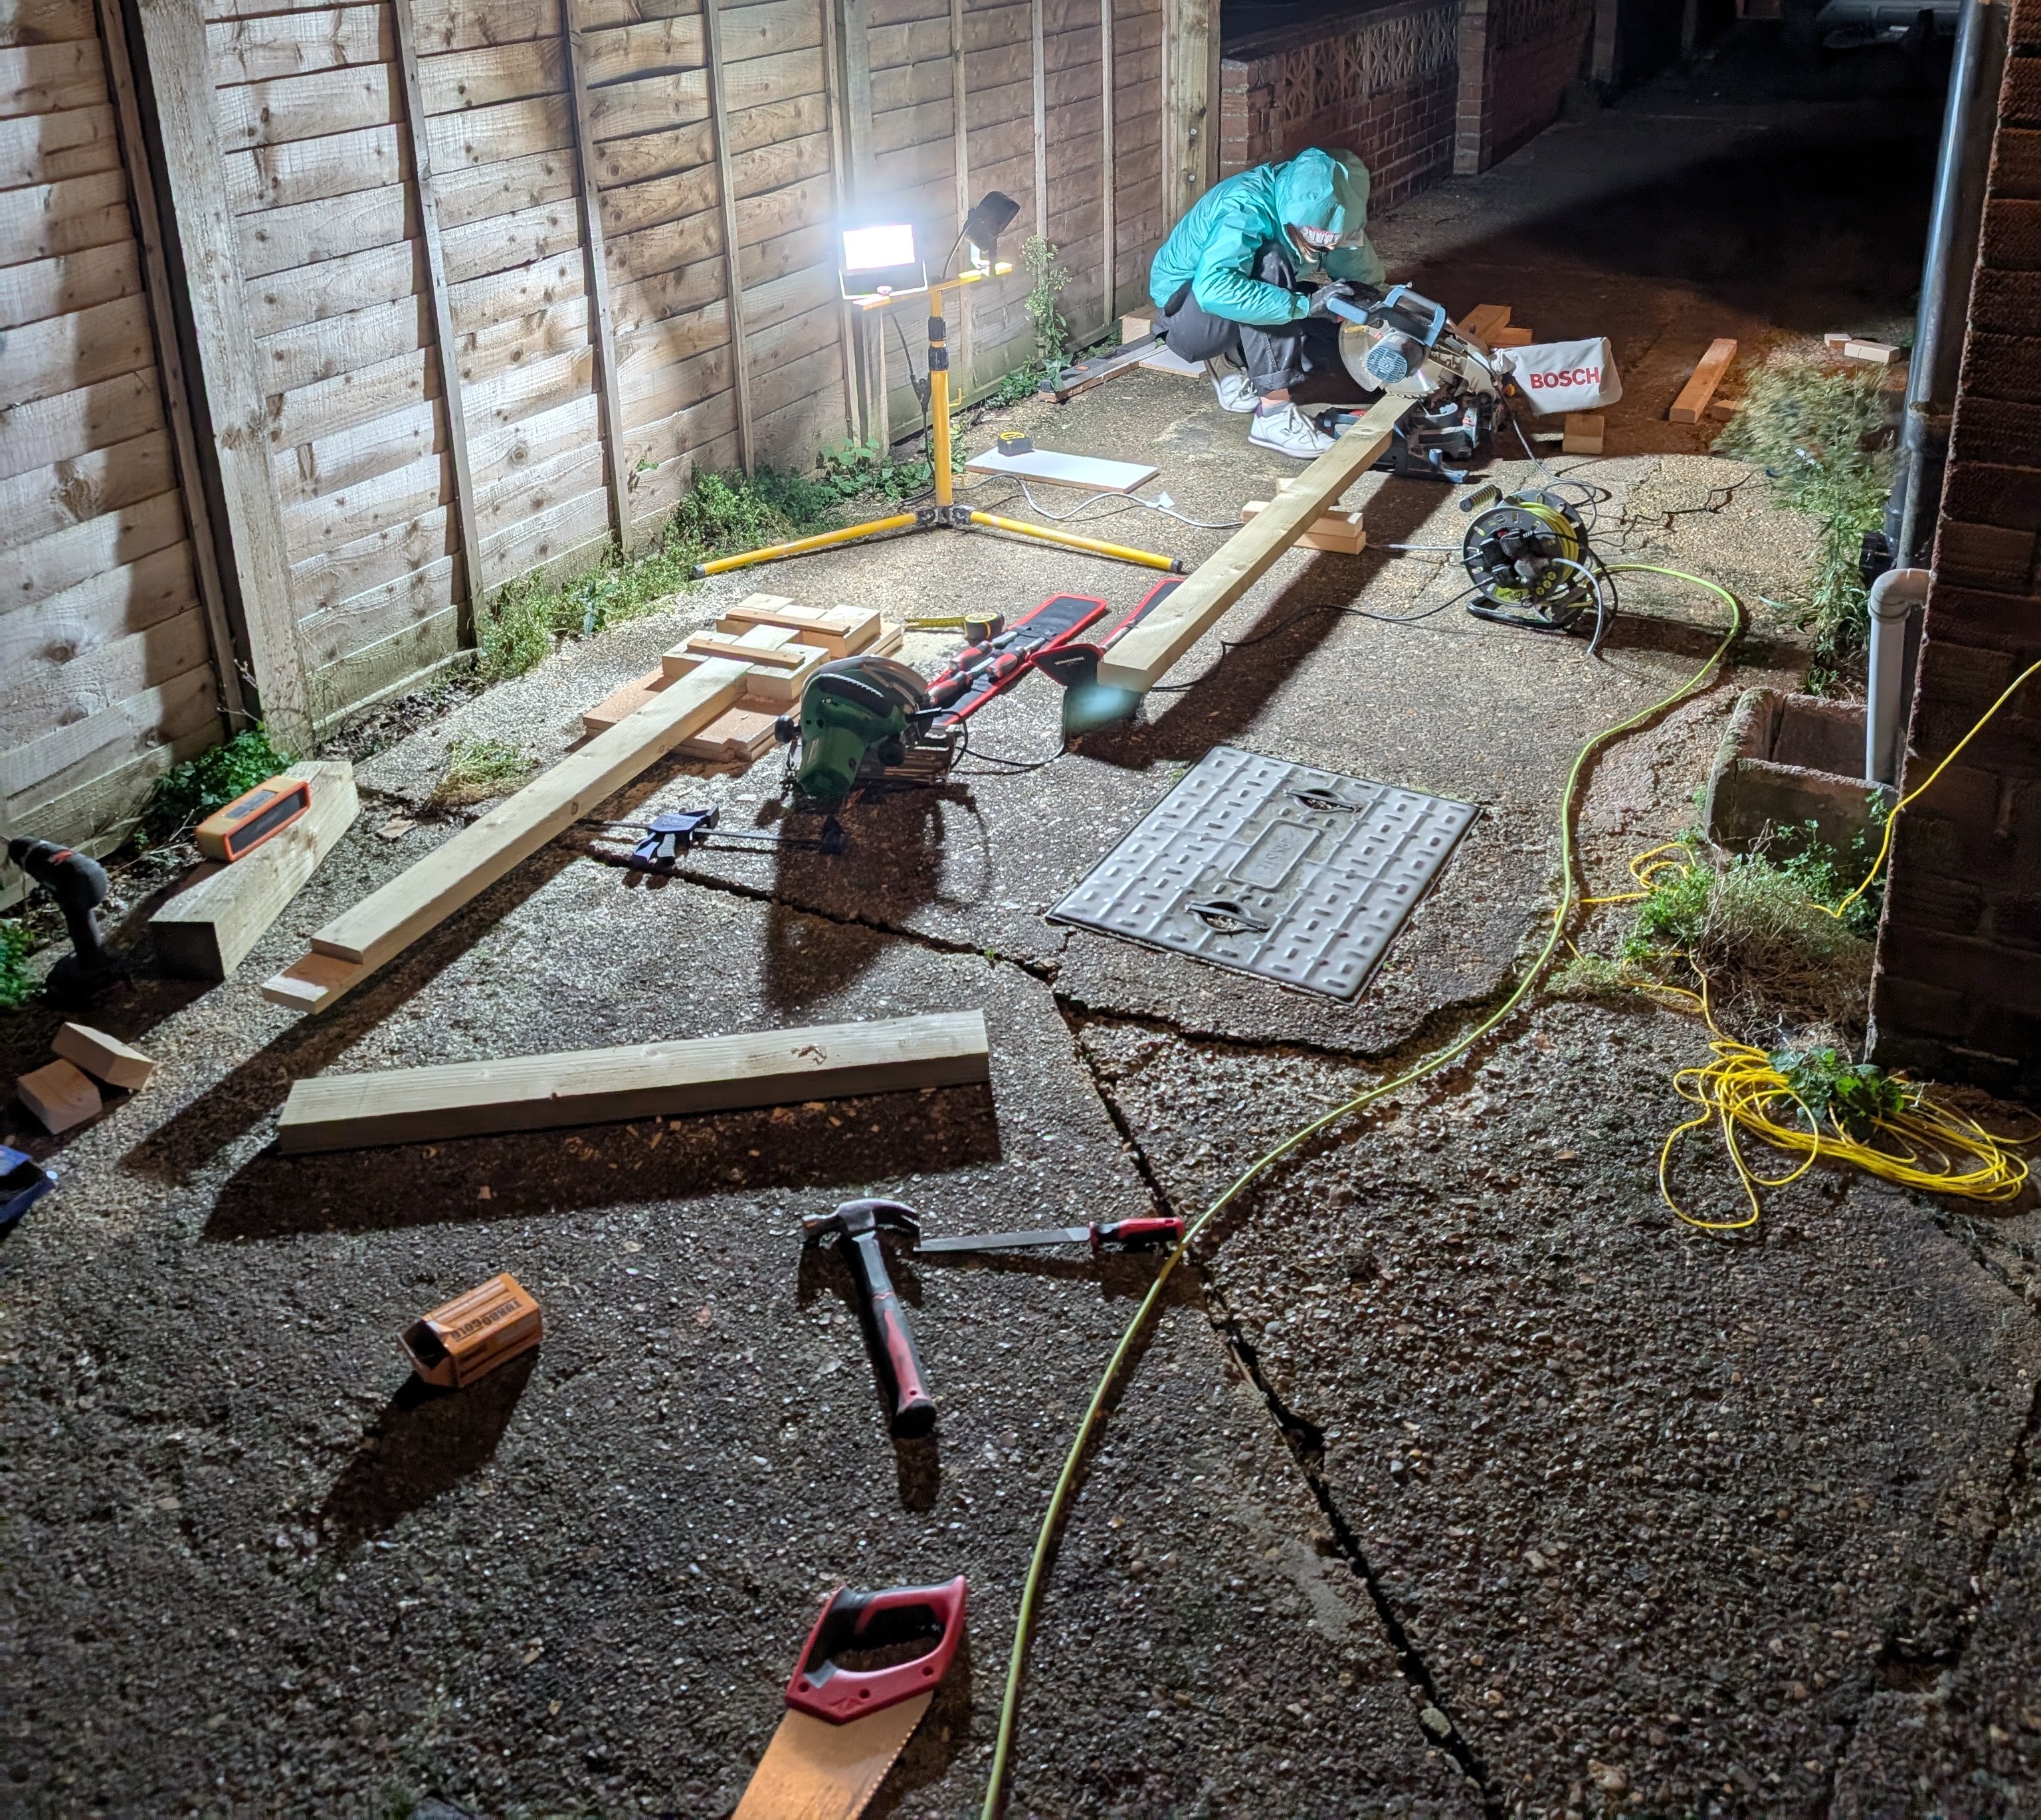
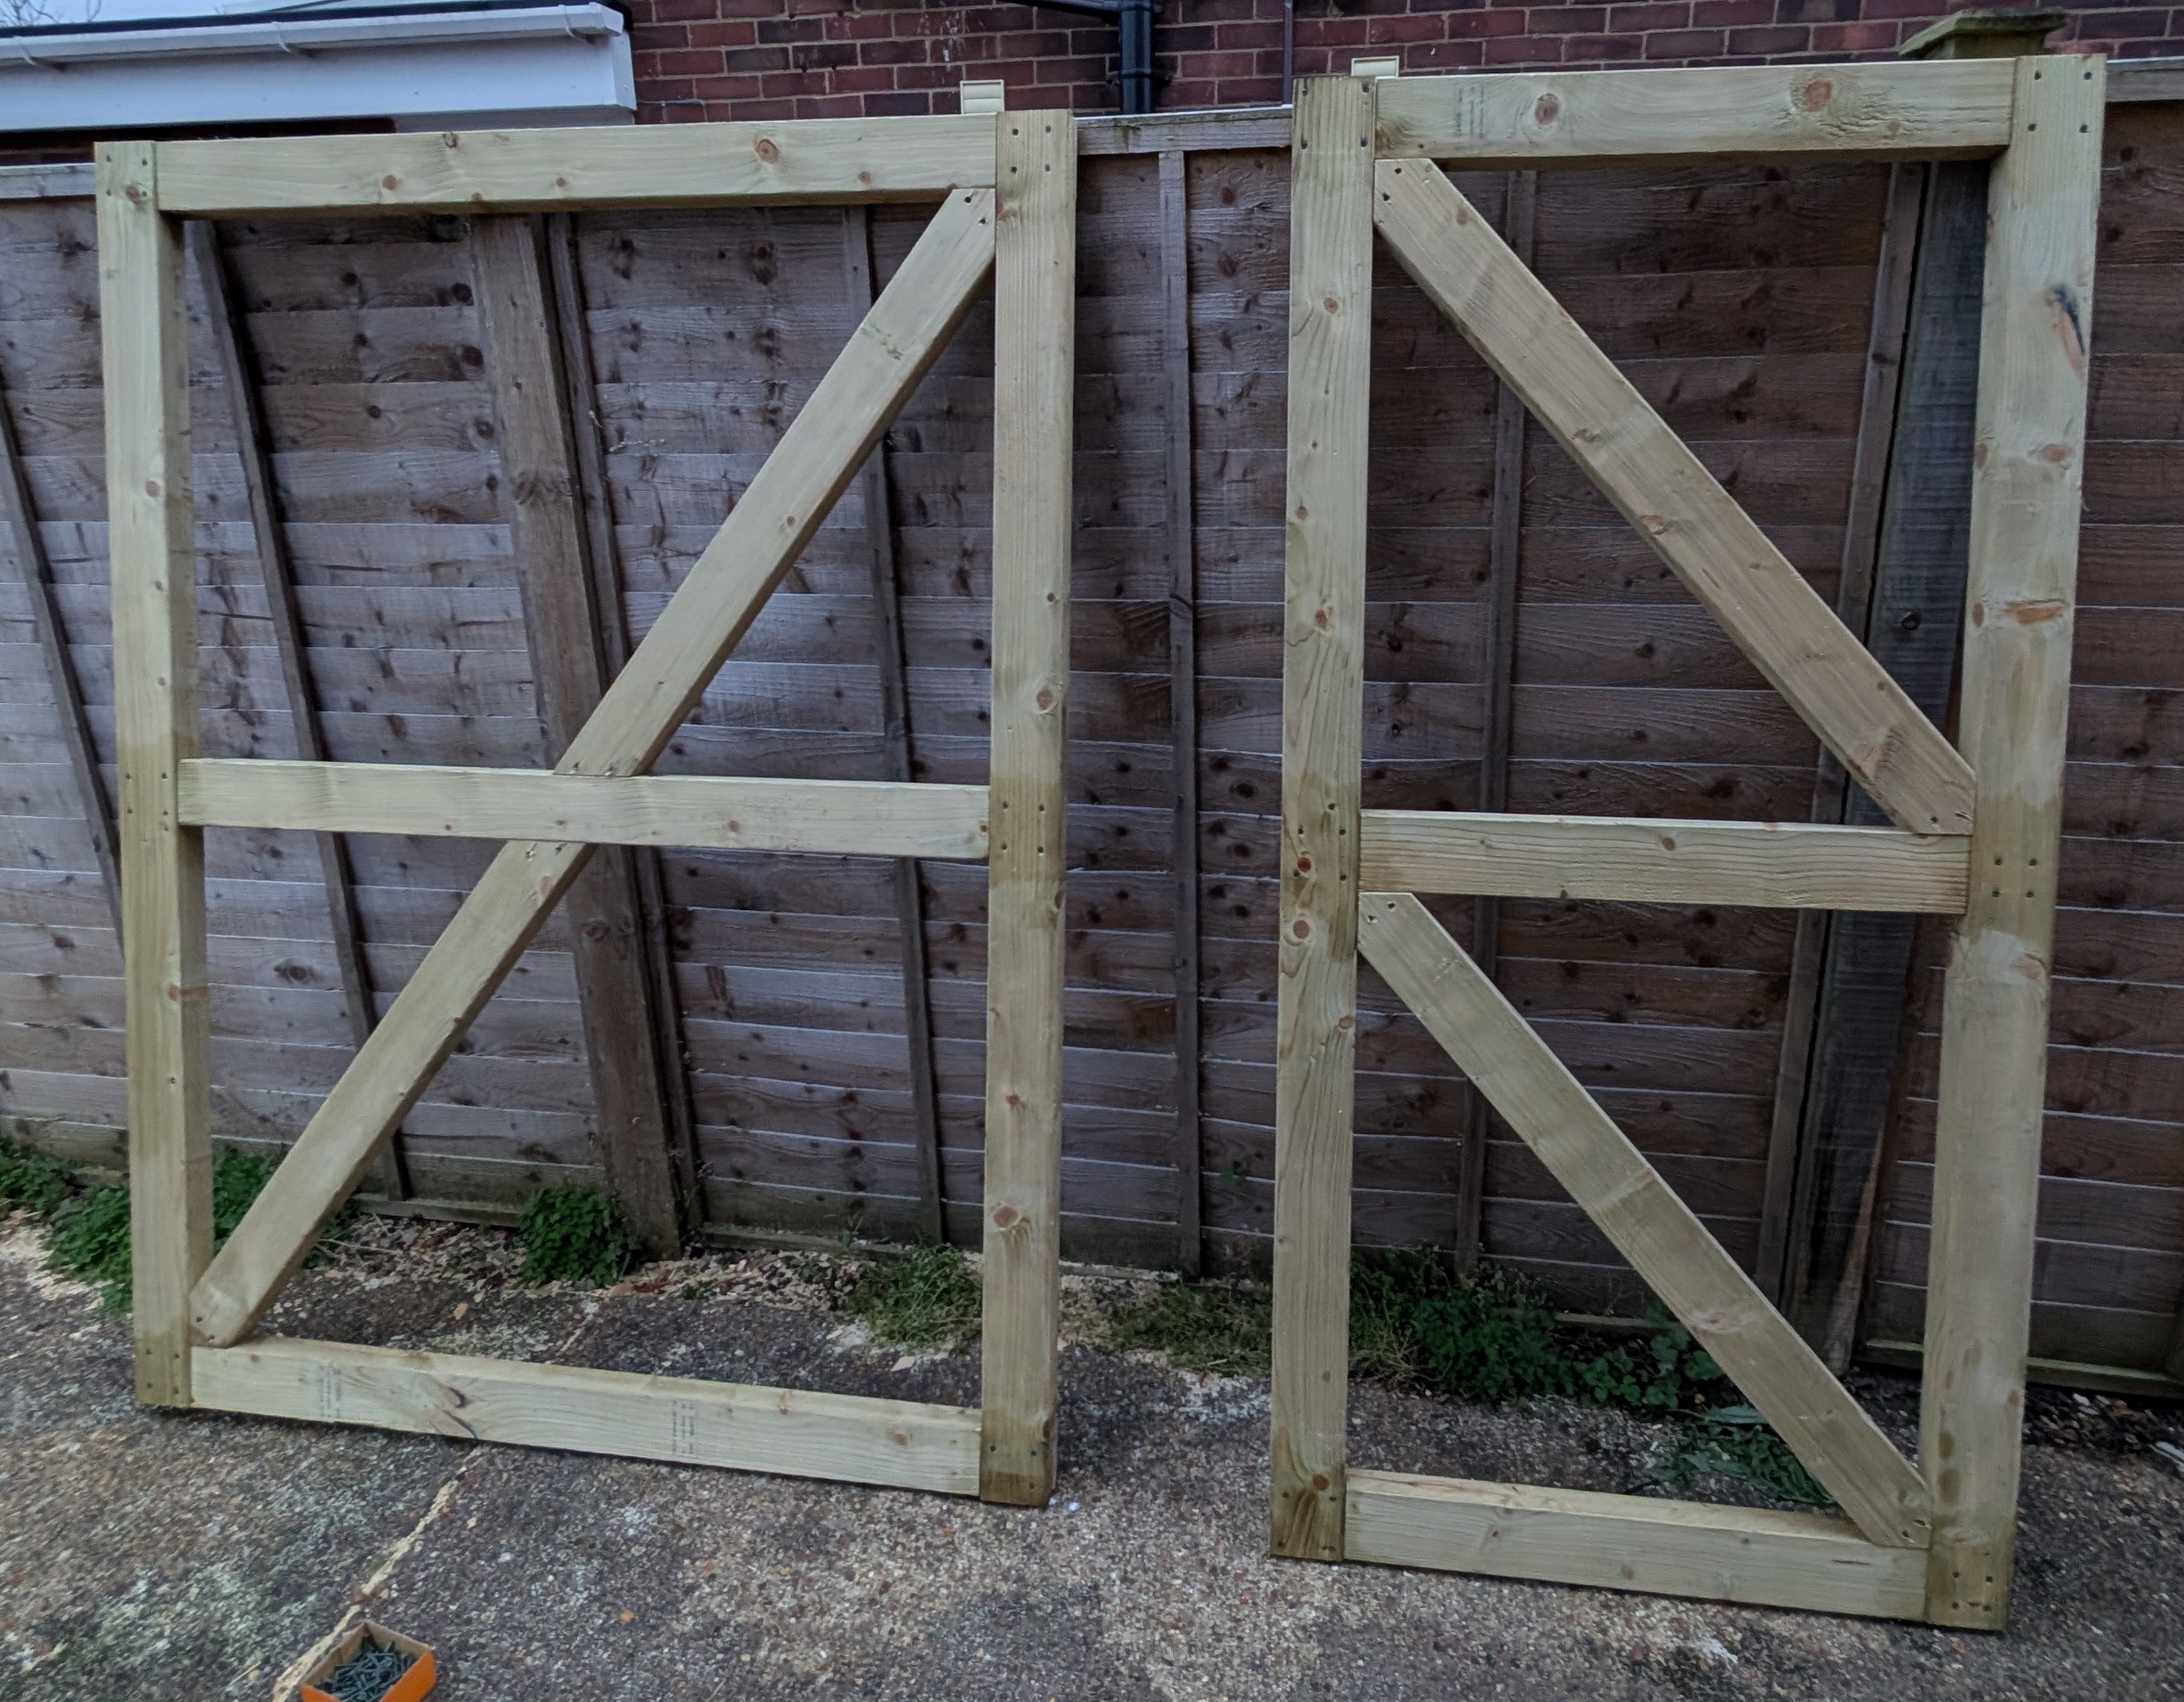
Next was to cut out the frame. CAD gave an accurate cutlist, but we only had a couple of days around New Year, which meant some chilly cutting after dark. All cut pieces were treated with cut end preserver (and all the boards were already fully pressure treated).
The linked blog at the top did some nice lap joints. The chopsaw I have can do compound angles … but does not extend in and out, which makes the kerf cuts impossible. Therefore I made a little jig to use with my handheld circular saw:
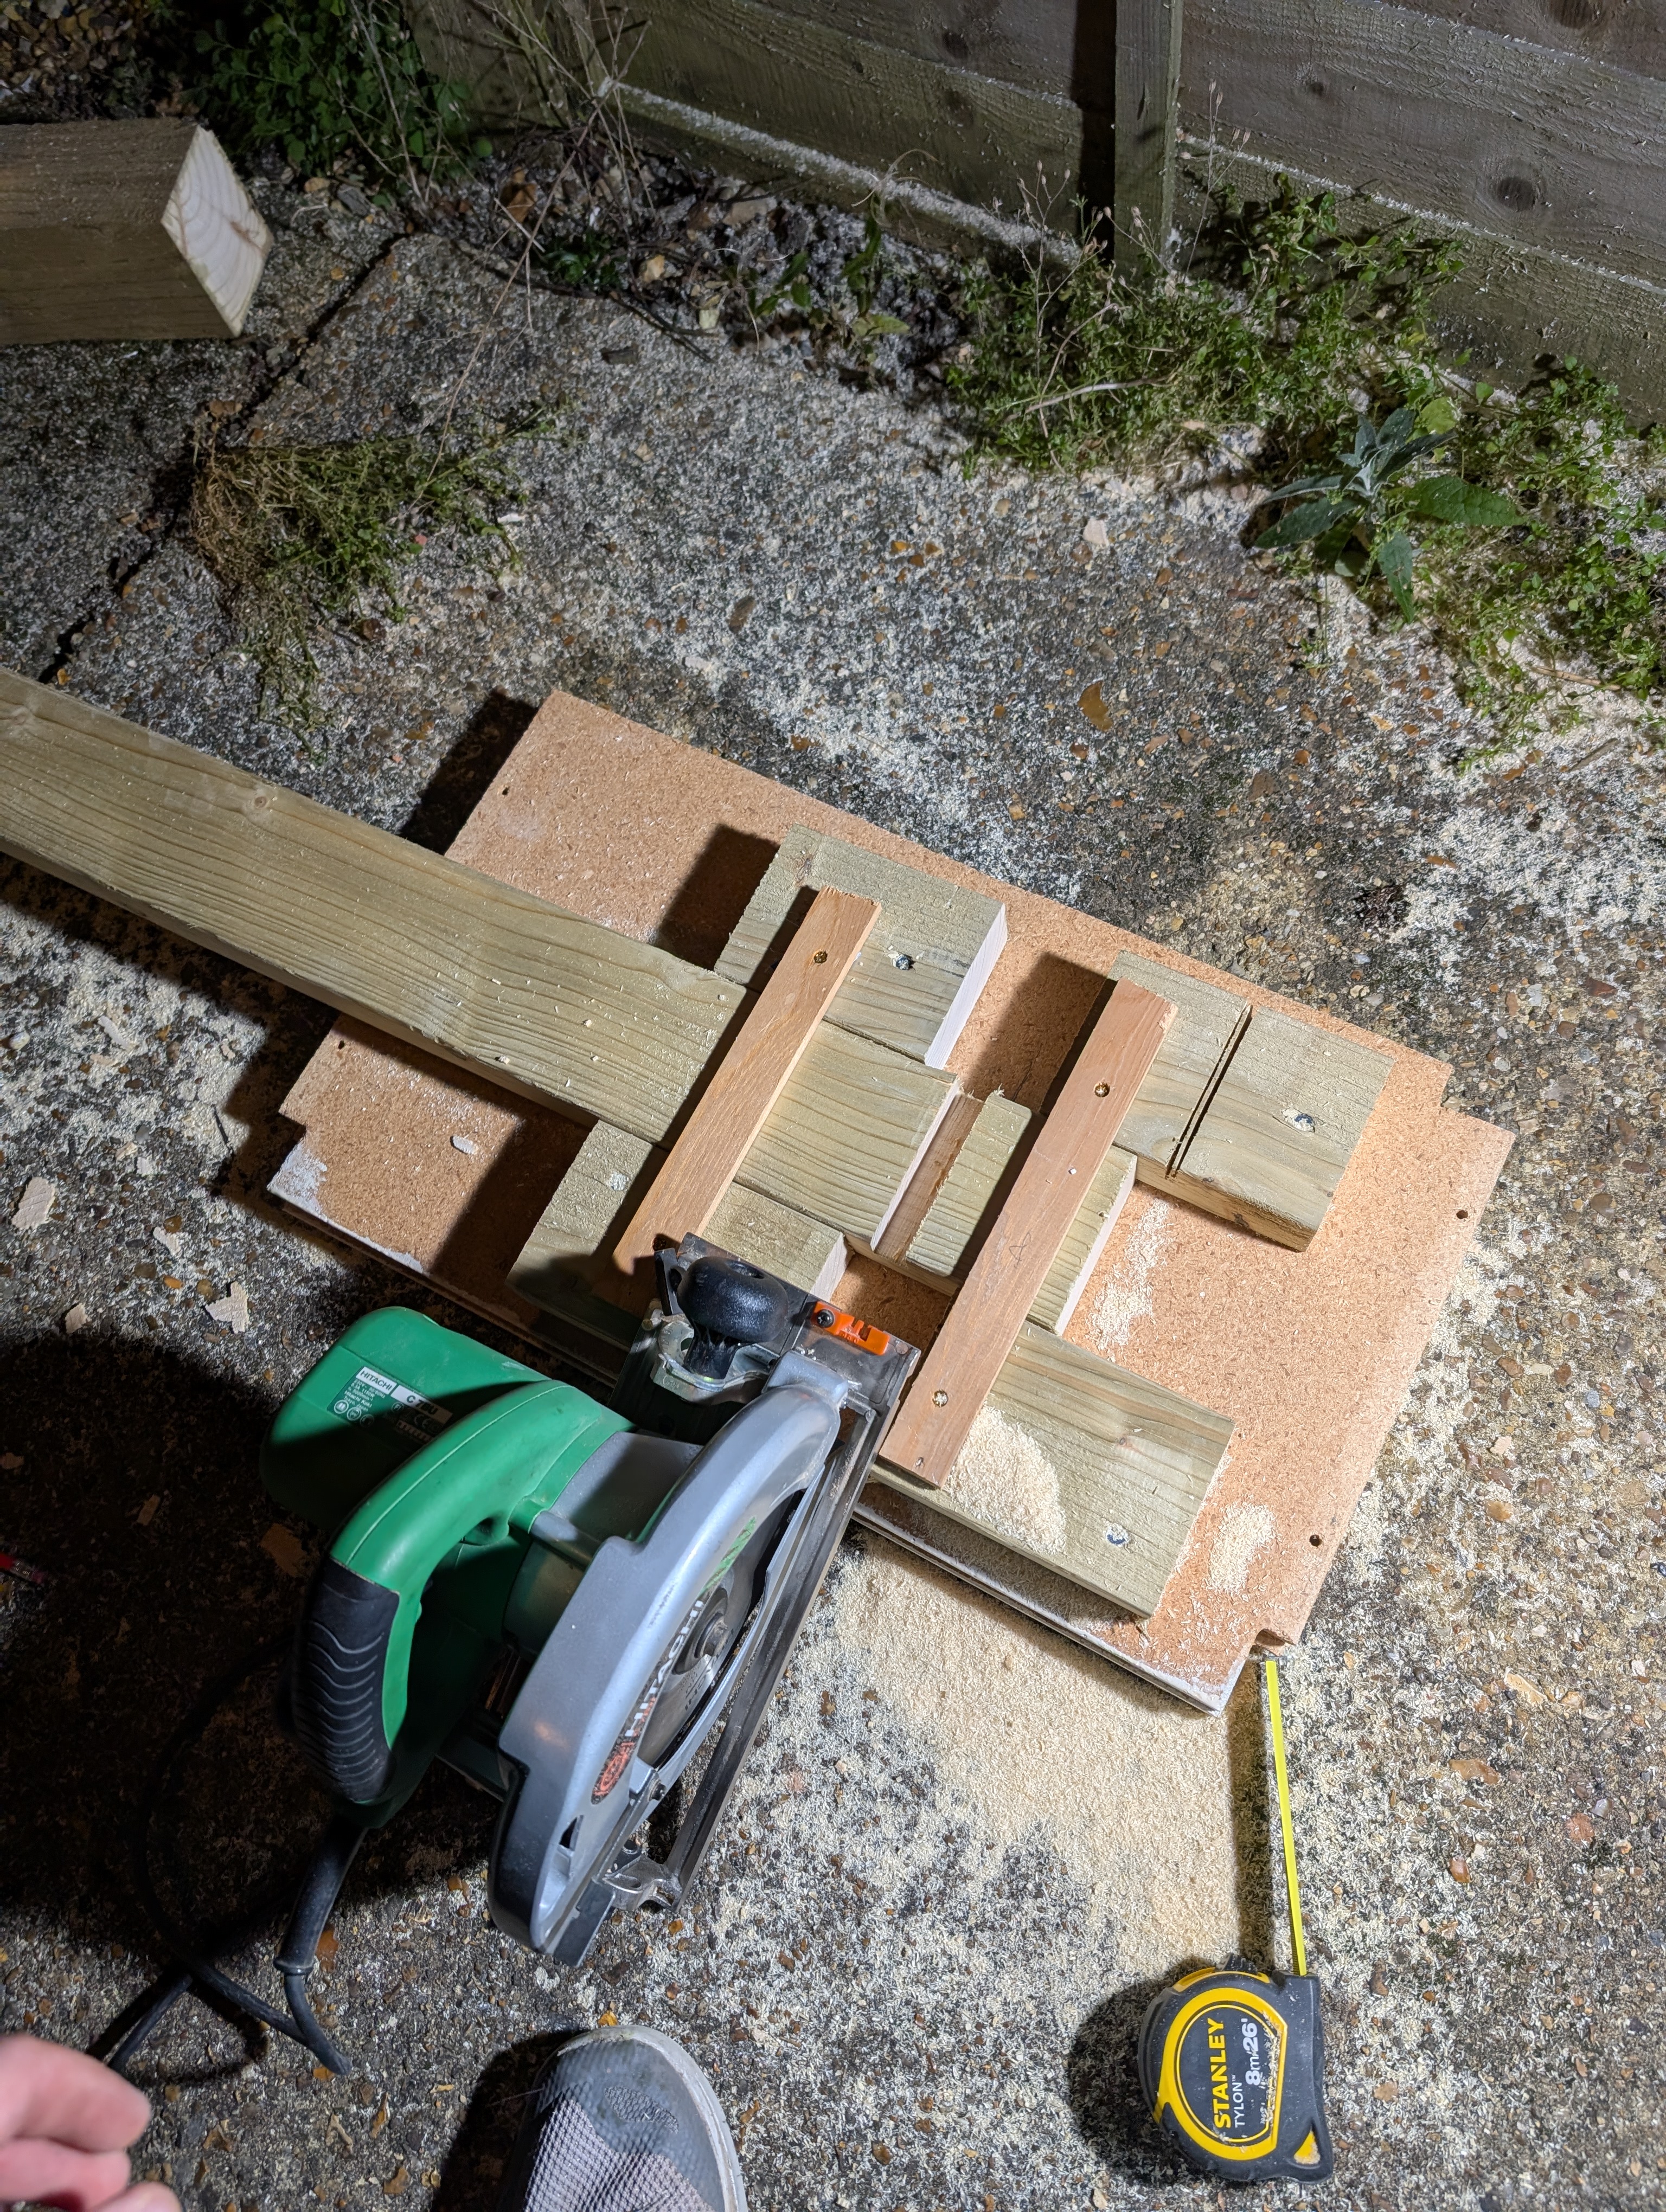
This still took perhaps six hours to do all joints. I’m not sure it was worth it… but the joints ure looked good:
I could then glue and screw the horizontal and vertical pieces together. These needed quite a long time to dry in the cold weather.
The diagonals were cut by tracing over wood in position, rather than what the CAD told me. Note that ideally these members should be in compression for max stiffness, so should slope up from the hinge side!
Hanging time. One a very wet day we used a series of ramped shim blocks (and a top plank to keep everything upright) to get the gates into position.

The hinges were screwed in “under tension” - i.e. being pulled out and down for the top hinges, and in and down for the bottmo ones. I did not add the coach bolts at this point.
After this we could start hammering on the featherboards. The linked blog gives excellent detail on this and I dont actually have many photos of this process.
I foolishly made the gate taller than a feather board, so planned in a capping strip to match the strip that covers the vertical gap between the gates. I gave it a nice edge with my router.
I took some time to space of the boards evenly, and made a little 95 mm long setting block to keep the spacing consistent. I realised that I needed the latching hardware on to help fit the final board. Also I was running out of weekend, so I switched to attaching hardware. Clamping a spirit level was a good was to make the gate co-planar.
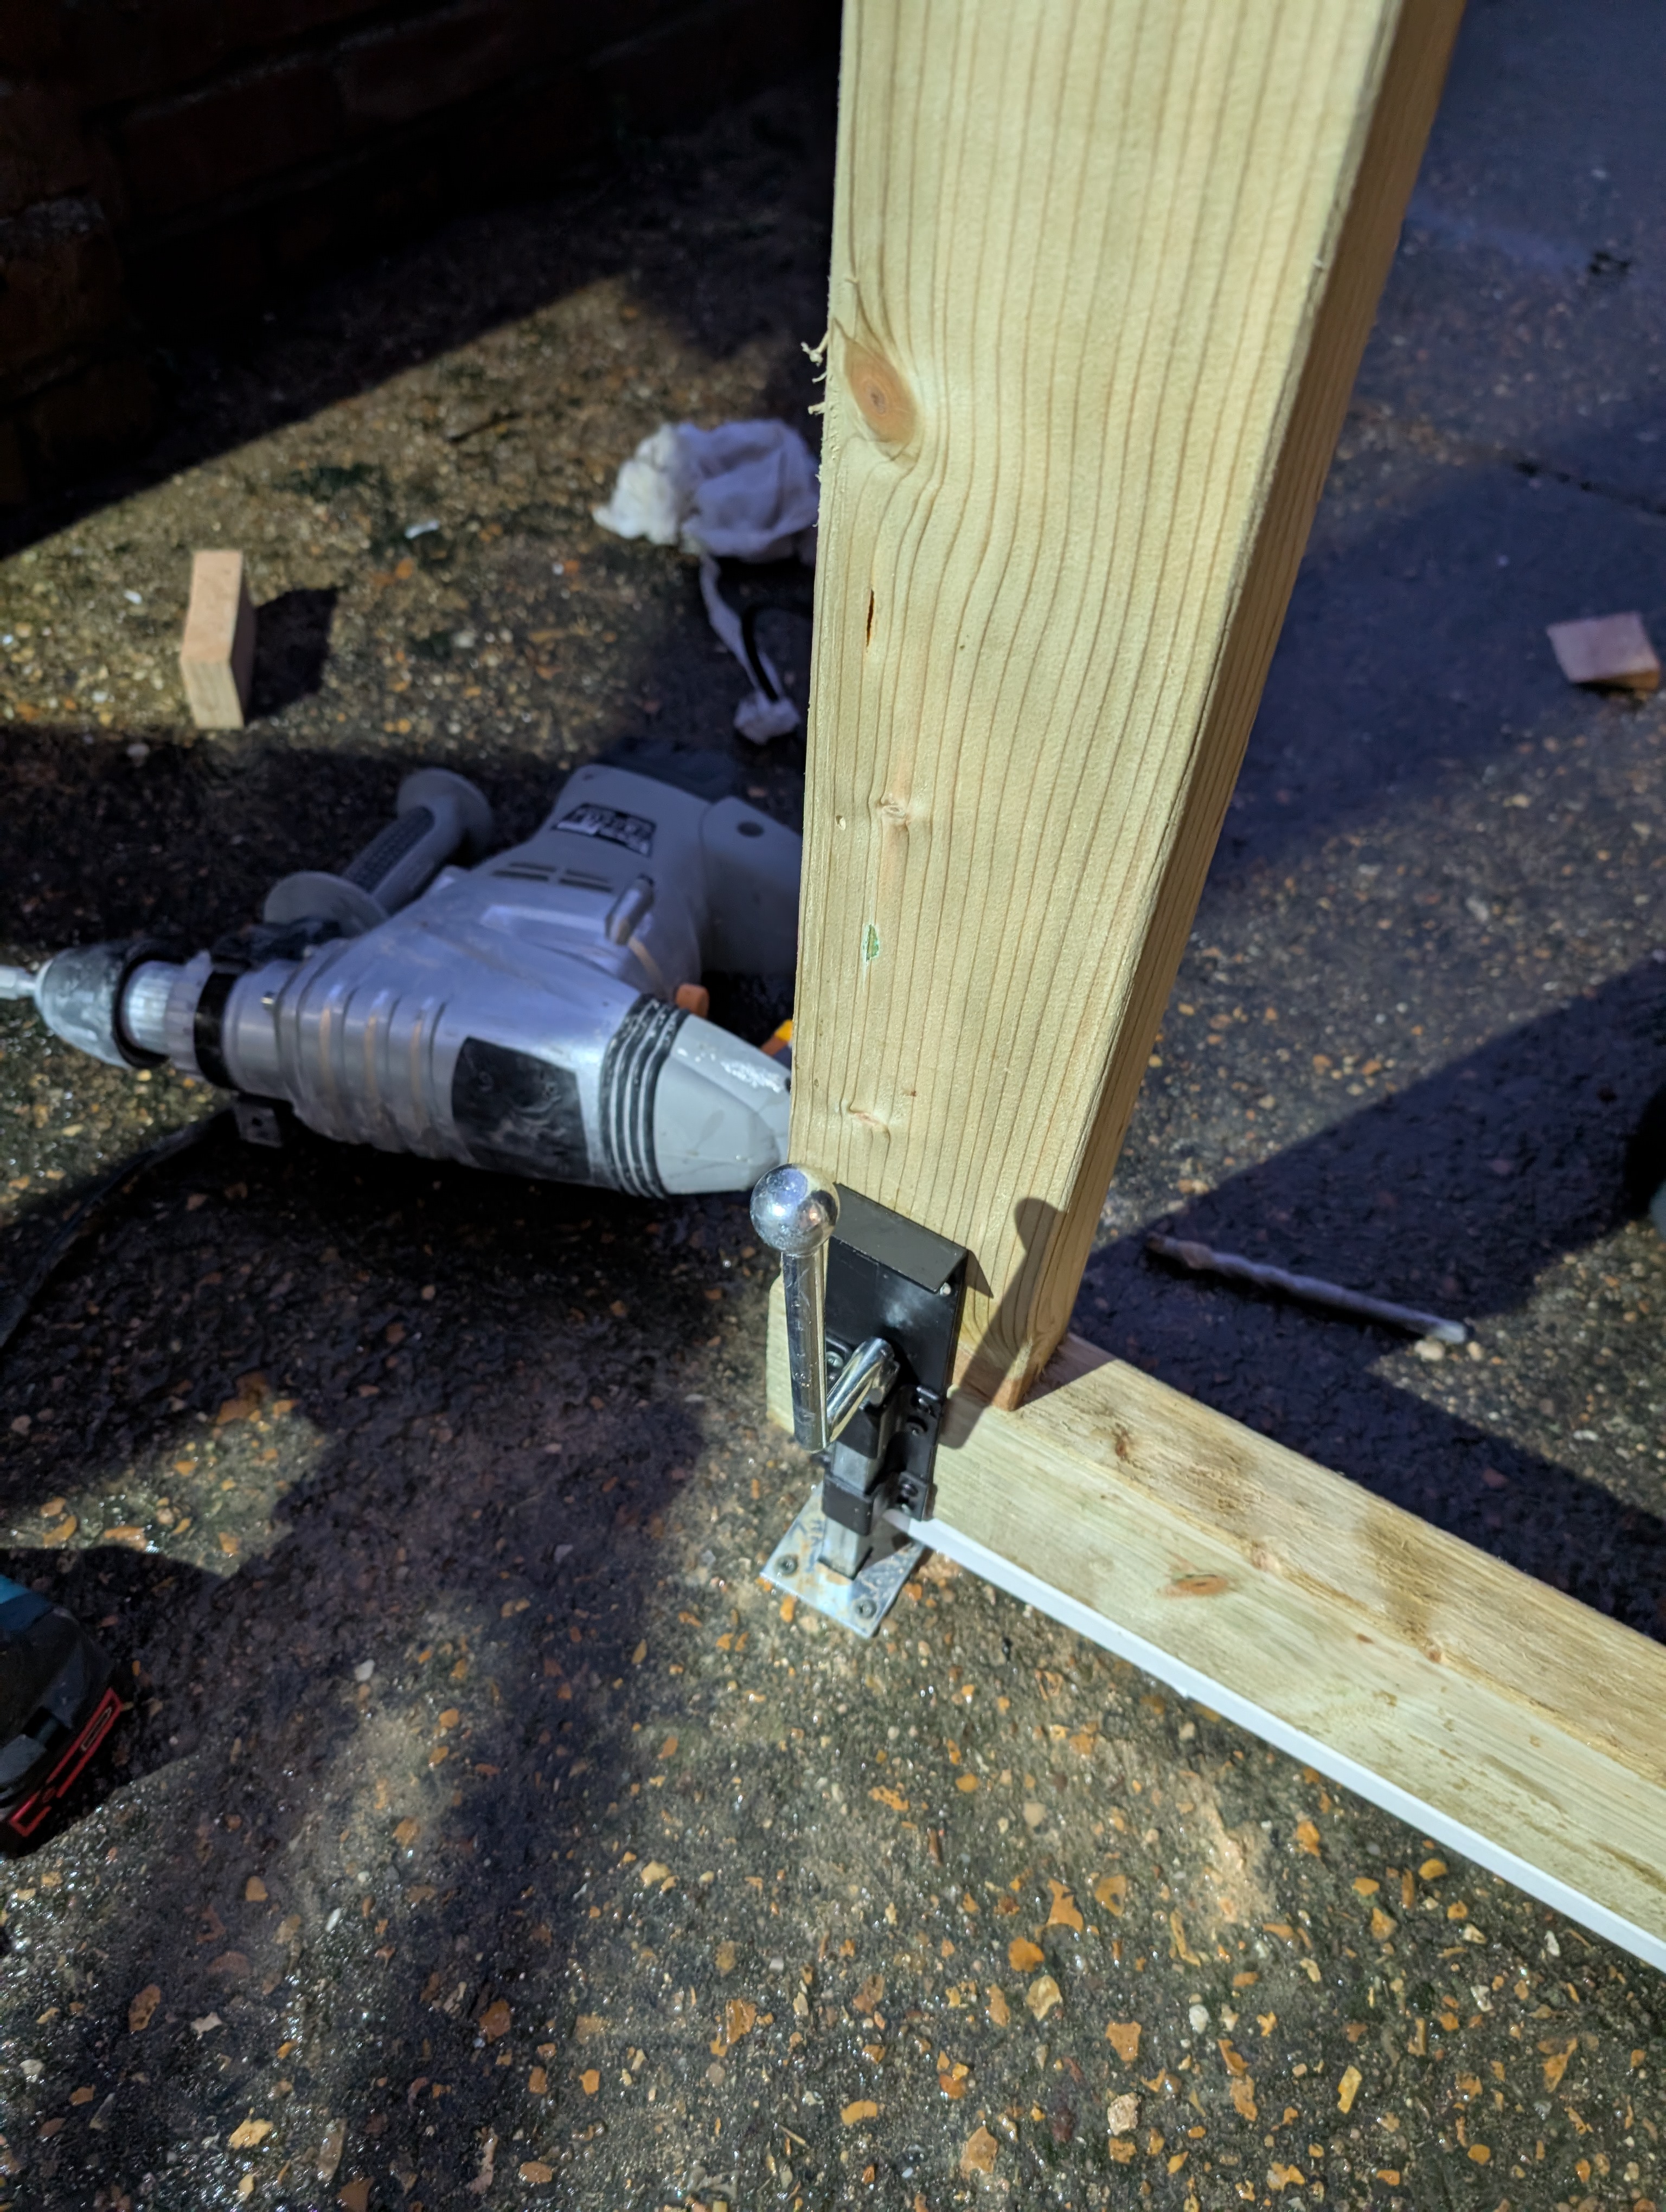
Using my SDS drill I blasted a hole in my drive for the Monkey tail bolt. I also put four wall plugs and deck screws in to hold this plate. Not the most elegant but seems to work quite well.
The following weekend I was able to attach the final boards and capping wood trim:
A few weeks later I added a lock when it arrived. A few months later, after some settling I was able to tweak some hinge screws and secure the hinges in a more final location with coach bolts in each corner.
Overall I am very happy with the result - smart, easy to use and lockable from both sides.
Steal their look: